Solution Finders
Overview
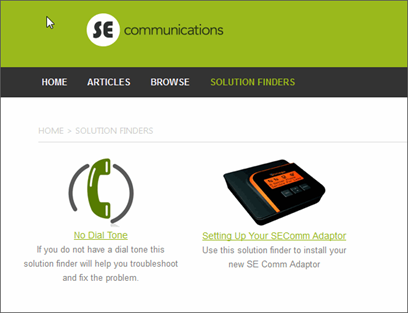
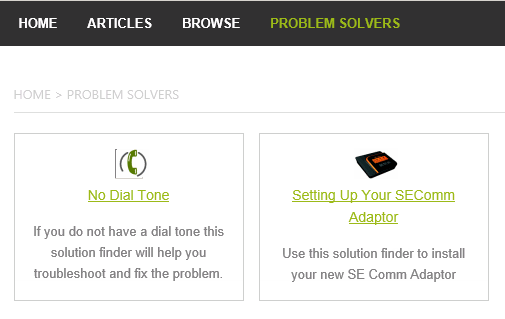
Figure : Portal Solution Finders
Solution Finders guide users through complicated issues in a question and answer format.
Prerequisite
Solution finders must exist in the knowledgebase prior to the steps described in this article.
Administrators create solution finders using the Content option in the KB Admin Control Panel.
Prior to configuring solution finders in the portal:
- Browse the KB control panel to take note of all the solution finders to be configured on the portal.
- Mouse over the Solution Finder name for its SFID. See figure below.
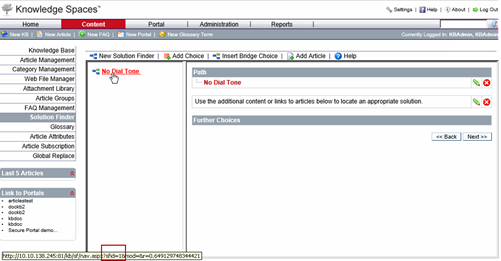
Figure : SFID of each Solution Finder
To configure solution finders on portals, users:
- Must set the "Solution Finder" module in the portal screen's top-menu bar.
- Must enable one or multiple solution finders in the Solution Finder screen of a portal.
- Can modify the default module title - Solution Finder.
Note: Though the steps need not be completed in that order, it is a good practice to complete step 1 prior to step 2, by editing the portal configuration file. Complete Step 3 by editing the language file.
Set the Solution Finder Module

- Login to Portal Administration.
- Click Edit in a portal's row in the Available Portals list.
- Click Configuration.
- Scroll to the line: <modules> <solutionFinder id= 5.
- Make changes to the attributes as described in table "Configuring Solution Finder Module" in the Portal Menu Bar.
- Click Save.
| XML Section | Description | Example |
|
<modules>
</modules> |
Specify the modules to displayed or disabled in the portal by setting enabled = true or enabled = false, respectively.
Specify the module display order in the global navigation by setting a numerical value for "displayOrder". Modules are displayed from lowest to highest values. Specify the name of the module between the opening and closing tags. This name is used by the Global Navigation and Breadcrumb Navigation. Do not modify the module's "ID" attribute. |
<modules>
. . . <solutionFinder id="solutionFinder" enabled="false" displayOrder="4">SOLUTION FINDERS</solutionFinder> </modules> |
Table : Configuring Solution Finder Module in the Portal Menu Bar
Set Multiple Solution Finders for the portal
"Set Solution Finders for the Portal Window" illustrates sample solution finders in a portal. KB administrators can set up multiple instances of such informational items for a portal.
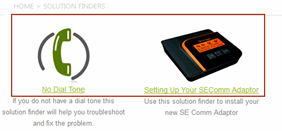
Figure : Set Solution Finders for the Portal Window.
To configure Solution Finders:
- Login to Portal Administration.
- Click Edit in a portal's row in the Available Portals list.
- Click Configuration.
- Scroll to the line: <solutionFinder>
- Make changes to the display attributes as described in Table "Configuring Solution Finders".
|
XML Section |
Description |
Example |
|
<solutionFinder >
</solutionFinder> |
Solution Finder settings determine the various solution finders that portal users can view on the solution finders screen.
A minimum of 1 and a maximum of 100 categories can be displayed on this screen. Specify a number to indicate the Display Order. The lowest number is the 1st one to be displayed. This is mandatory. Specify the solution finder ID for the item that will be displayed. This is mandatory. Specify a Name for the solution finder. This is mandatory. It will be displayed in the Solution finder screen of the portal. Specify a graphic file name to represent the Solution Finder. This is optional. The default image is used if you do not specify an image file. |
<solutionFinderdisplayOrder="1">
<id>1</id> <name>No Dial Tone</name> <image>phone.jpg</image> </solutionFinder> <solutionFinder displayOrder="2"> <id>2</id> <name>Setting Up Your SEComm Adaptor</name> <image>adaptor.jpg</image> </solutionFinder> |
Table : Configuring Solution Finder Module in the Portal Menu Bar
Modify Module Title
Figure : Language File Solution Finder Title Setting (Search Filter)
To change the title Solution Finders to any other title:
- Login to Portal Administration.
- Click Edit in a portal's row in the Available Portals list.
- Click Language.
- Scroll to the line: <filterDisplay_contentType_solutionFinder_title>
- Make changes to the display attributes as described in Table "Configuring Solution Finder - Title"
- Click Save.
| XML Section | Description |
|
<filterDisplay_contentType_solutionFinder_title>
Solution Finder </filterDisplay_contentType_solutionFinder_title> |
Change the text Solution Finder to any preferred term - for example: Problem Solver |
Table : Configuring Solution Finder - Title
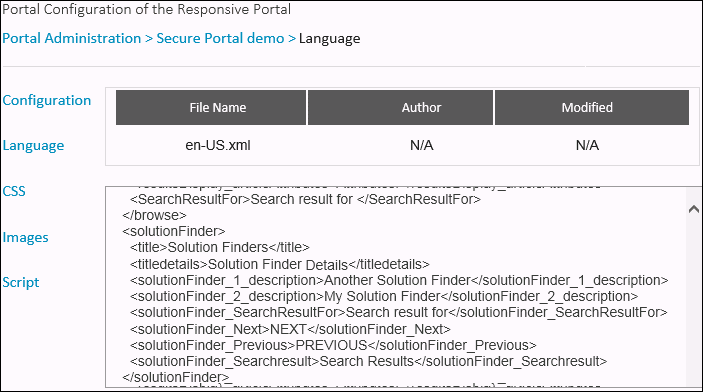
Figure : Language File Title Setting for Solution Finders Screen
The default titles in the language file can be applied to multiple solution finders on the portal. To change the default titles:
- Login to Portal Administration.
- Click Edit in a portal's row in the Available Portals list.
- Click Language.
- Scroll to the line: <solutionFinder>
- Make changes to the display attributes as described in Table "Configuring Solution Finder Title and Description".
- Click Save.
| XML Section Description | To change the defaults |
|
<solutionFinder>
<title>Solution Finders</title> <titledetails> Solution Finder Details</titledetails> <solutionFinder_1_description> Another Solution Finder </solutionFinder_1_description> <solutionFinder_2_description> My Solution Finder </solutionFinder_2_description> <solutionFinder_SearchResultFor> Search result for</solutionFinder_SearchResultFor> <solutionFinder_Next>NEXT</solutionFinder_Next> <solutionFinder_Previous>PREVIOUS </solutionFinder_Previous> <solutionFinder_Searchresult>Search Results</solutionFinder_Searchresult> </solutionFinder> |
Do not edit text enclosed in < > (angle brackets). Change text after > and before the subsequent <. |
Table : Configuring Solution Finder Title and description
Solution Finder History
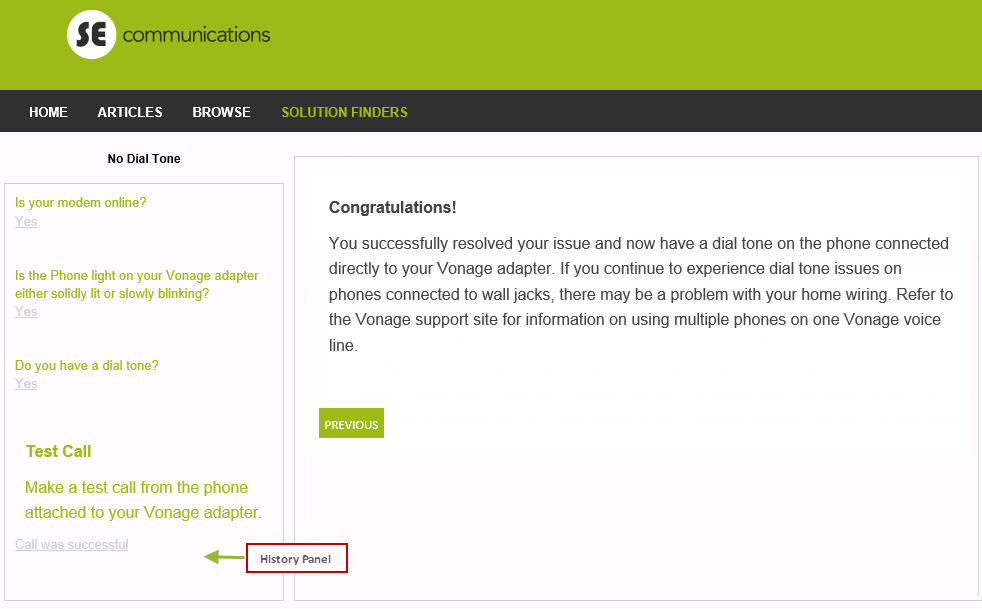
Figure : Solution Finder History
Users would go through the trouble-shooting steps set by the creator of the solution finder in
KB Admin control Panel, in the solution finder one by one as illustrated.
Note: By default the entire question entered into the Solution Finder step will display in the history panel. To display only a part of it in the history panel, enclose that portion in a paragraph tag with the id=history.
For example:
<p id="history">This will display in the history panel</p>

