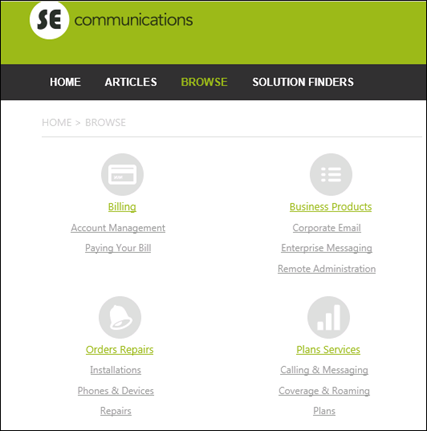
Configuring Category Browse
Overview

Portals can be configured to display selected article categories and their immediate subcategories.
Each category can be associated with an image to create a visual and intuitive experience.
Setting up Categories for a portal’s Browse screen requires the following steps:
- Setting the “Browse” option in the portal’s top-menu bar.
- Enable one or multiple categories in the Browse screen.
Configuring Browse for the Portal
- Login to Portal Administration.
- Click Edit in a portal’s row in the Available Portals list.
- Click Configuration.
-
Scroll to the line:
<modules>
<browse> - Make changes to the display attributes as described in Table "Configuring Browse".
- Click Save
| XML Section | Description | Example |
| <modules> </modules> |
Specify the modules to displayed or disabled in the portal by setting:
or
Important: Do not modify the module's "ID" attribute. Be aware that disabling the Articles module will prevent the “Articles” tab from displaying in the navigation. However, users will still be able to search and view articles. |
<modules> <home id="home" enabled="true" displayOrder="1">HOME</home> <articles id="article" enabled="false" displayOrder="2">ARTICLES </articles> <browse id="browse" enabled="false" displayOrder="3">BROWSE </browse> <solutionFinder id="solutionFinder" enabled="false" displayOrder="4">SOLUTION FINDERS</solutionFinder> |
Enable Multiple Categories in the Browse screen
- Login to Portal Administration.
- Click Edit in a portal’s row in the Available Portals list.
- Click Configuration.
- Scroll to the line: <browse> <category>
- Make changes to the display attributes as described in Table "Enabling Categories for Browse".
- Click Save.
| XML Section | Description | Example |
|
<browse> <category > </category> </browse> |
The Browse settings determine the various article categories that portal users can view and choose from, for further reading. Specify:
|
<category displayOrder="1"> |
